This is the first time I try lettering on pumpkins and I won’t lie, it was a bit challenging BUT very relaxing. It was nice to have nothing to think about but making my pumpkin look nice and cute 🙂
Below is a step-by-step tutorial on how to spruce up your pumpkin with hand-lettering. The best part is that I have created templates with different styles of lettering for you to use on your pumpkin.
Download Hand-Lettering Templates Here
SUPPLIES:
1. Medium-Large sized pumpkin
2. Paint markers (preferably varying sizes)
3. Scissors
4. Tape
5. Ballpoint Pen
6. Paper to print templates
STEP 1:
Gather your supplies, download templates, print templates, and test pens before starting. [Tip: play your favorite music & grab a cup of coffee ;)]
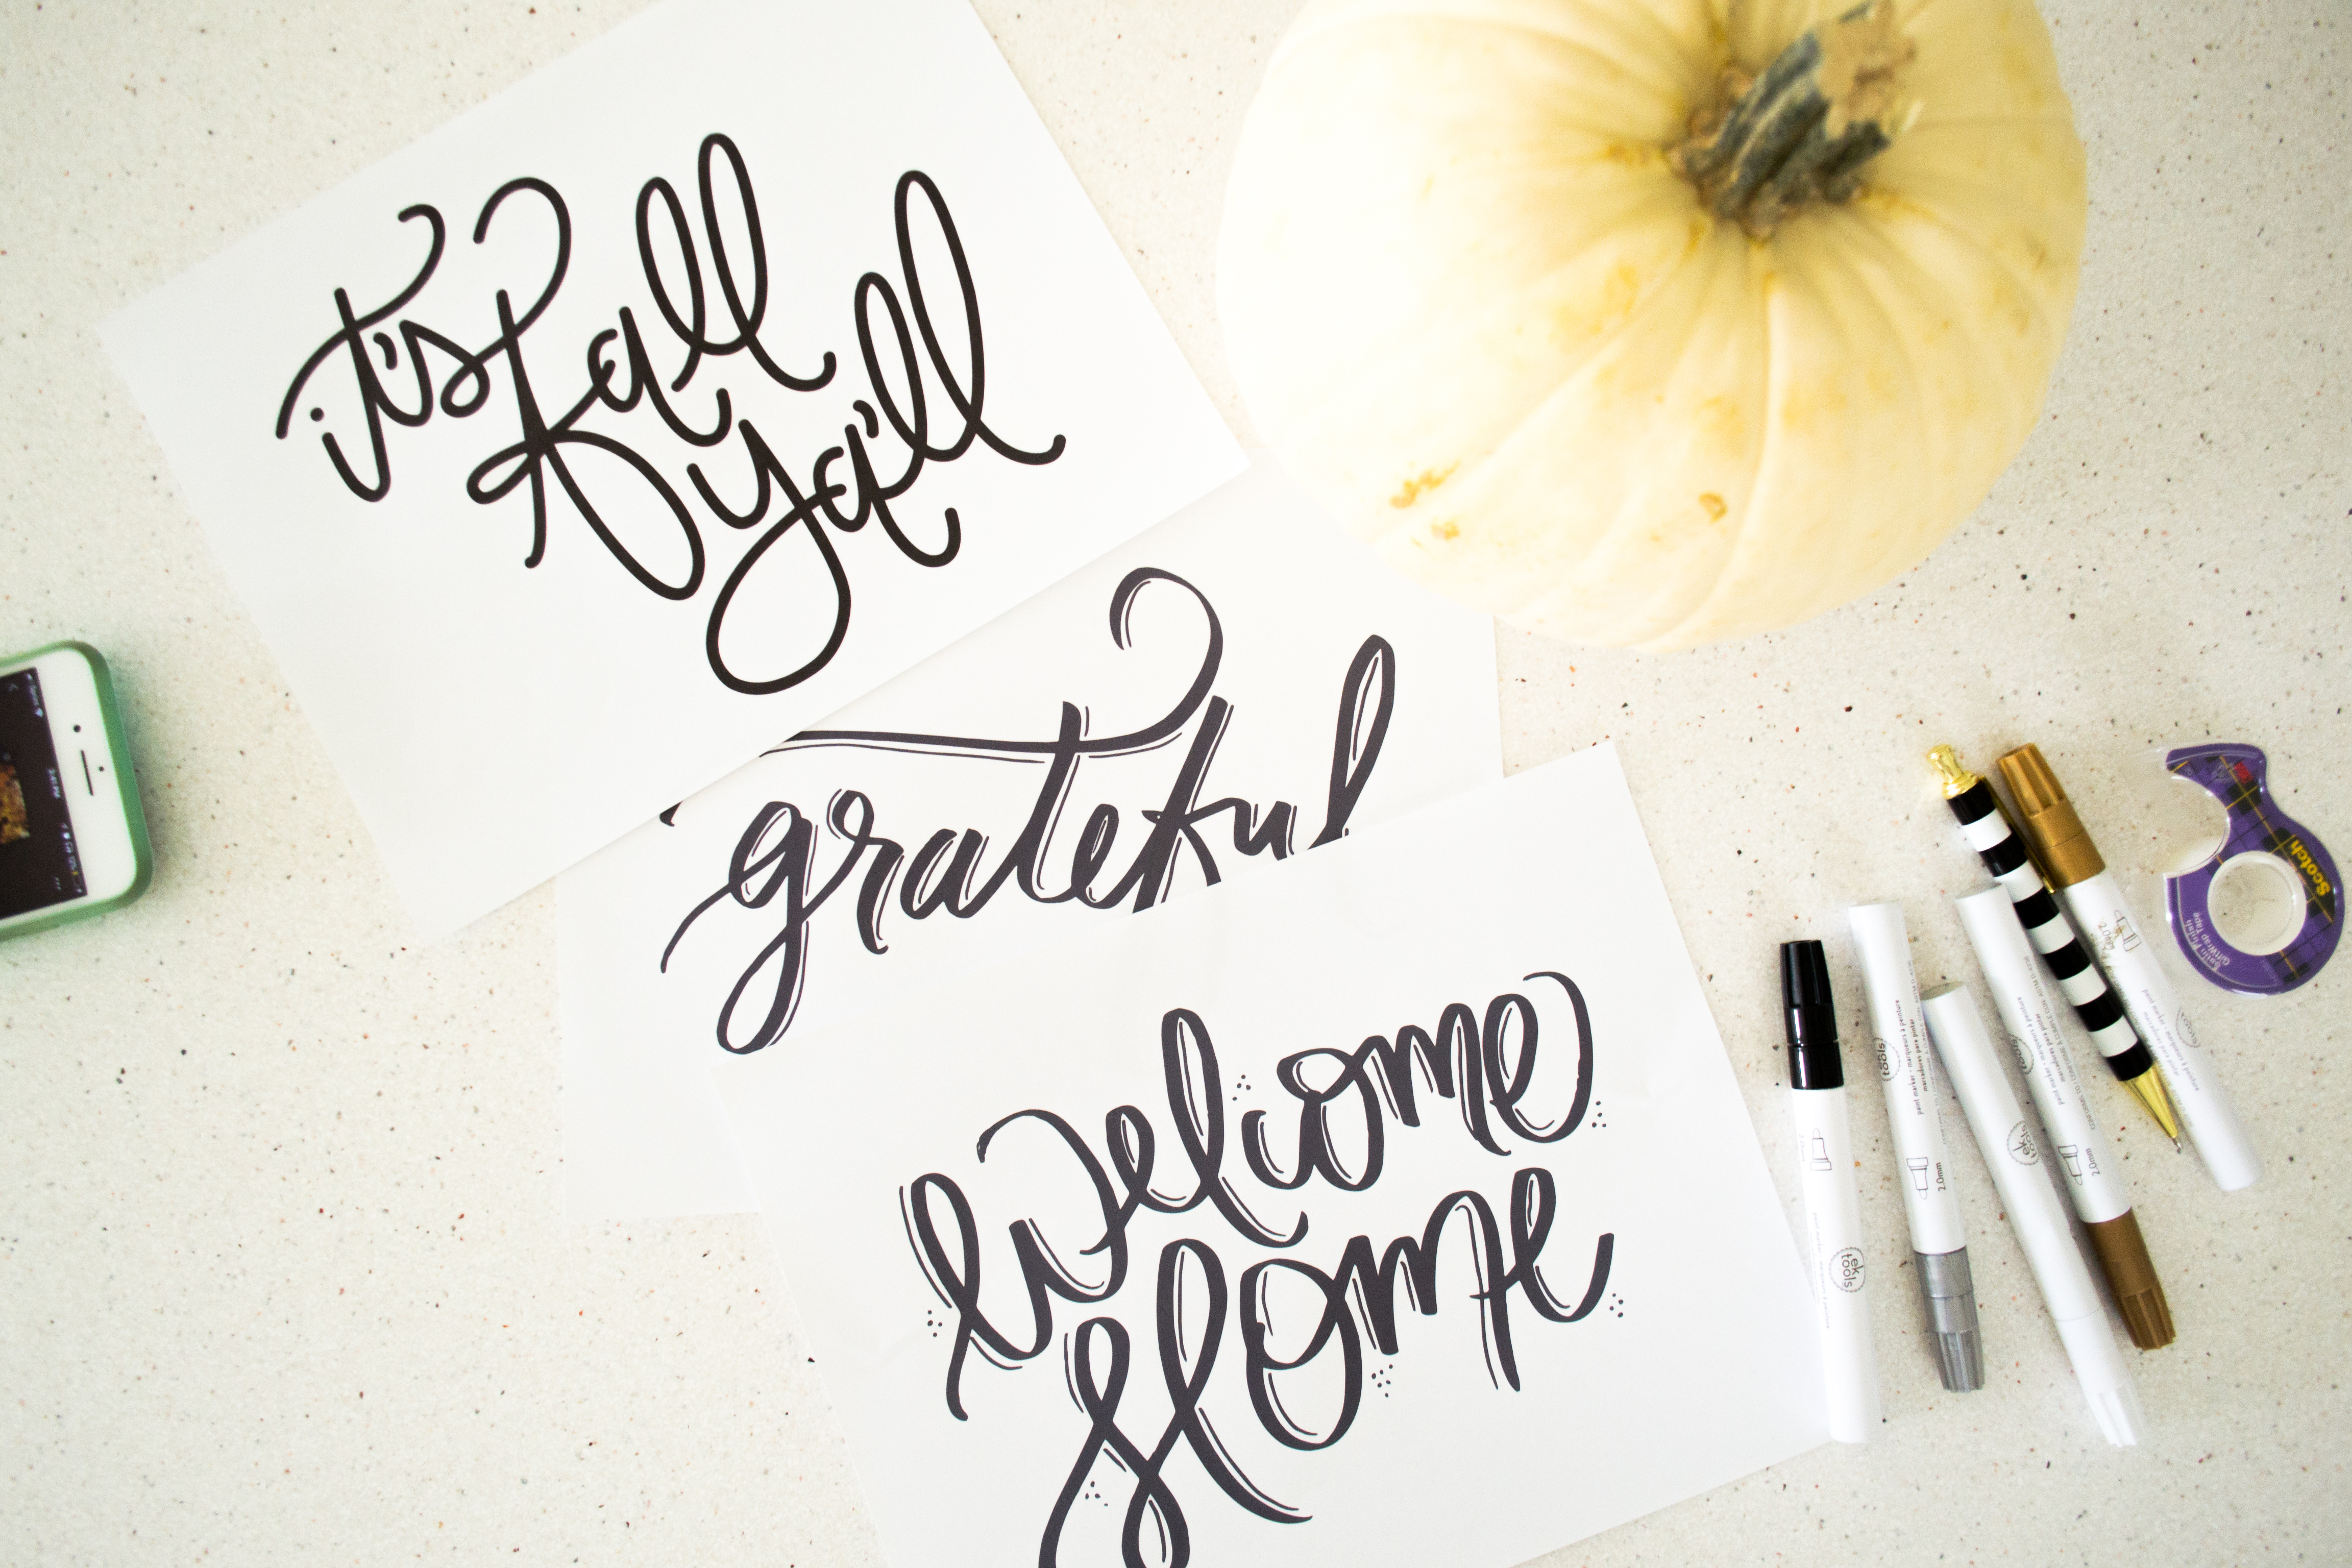
STEP 2:
Choose the template you want to use and cut around the edges of the lettering so that you don’t have the excess paper in the way.
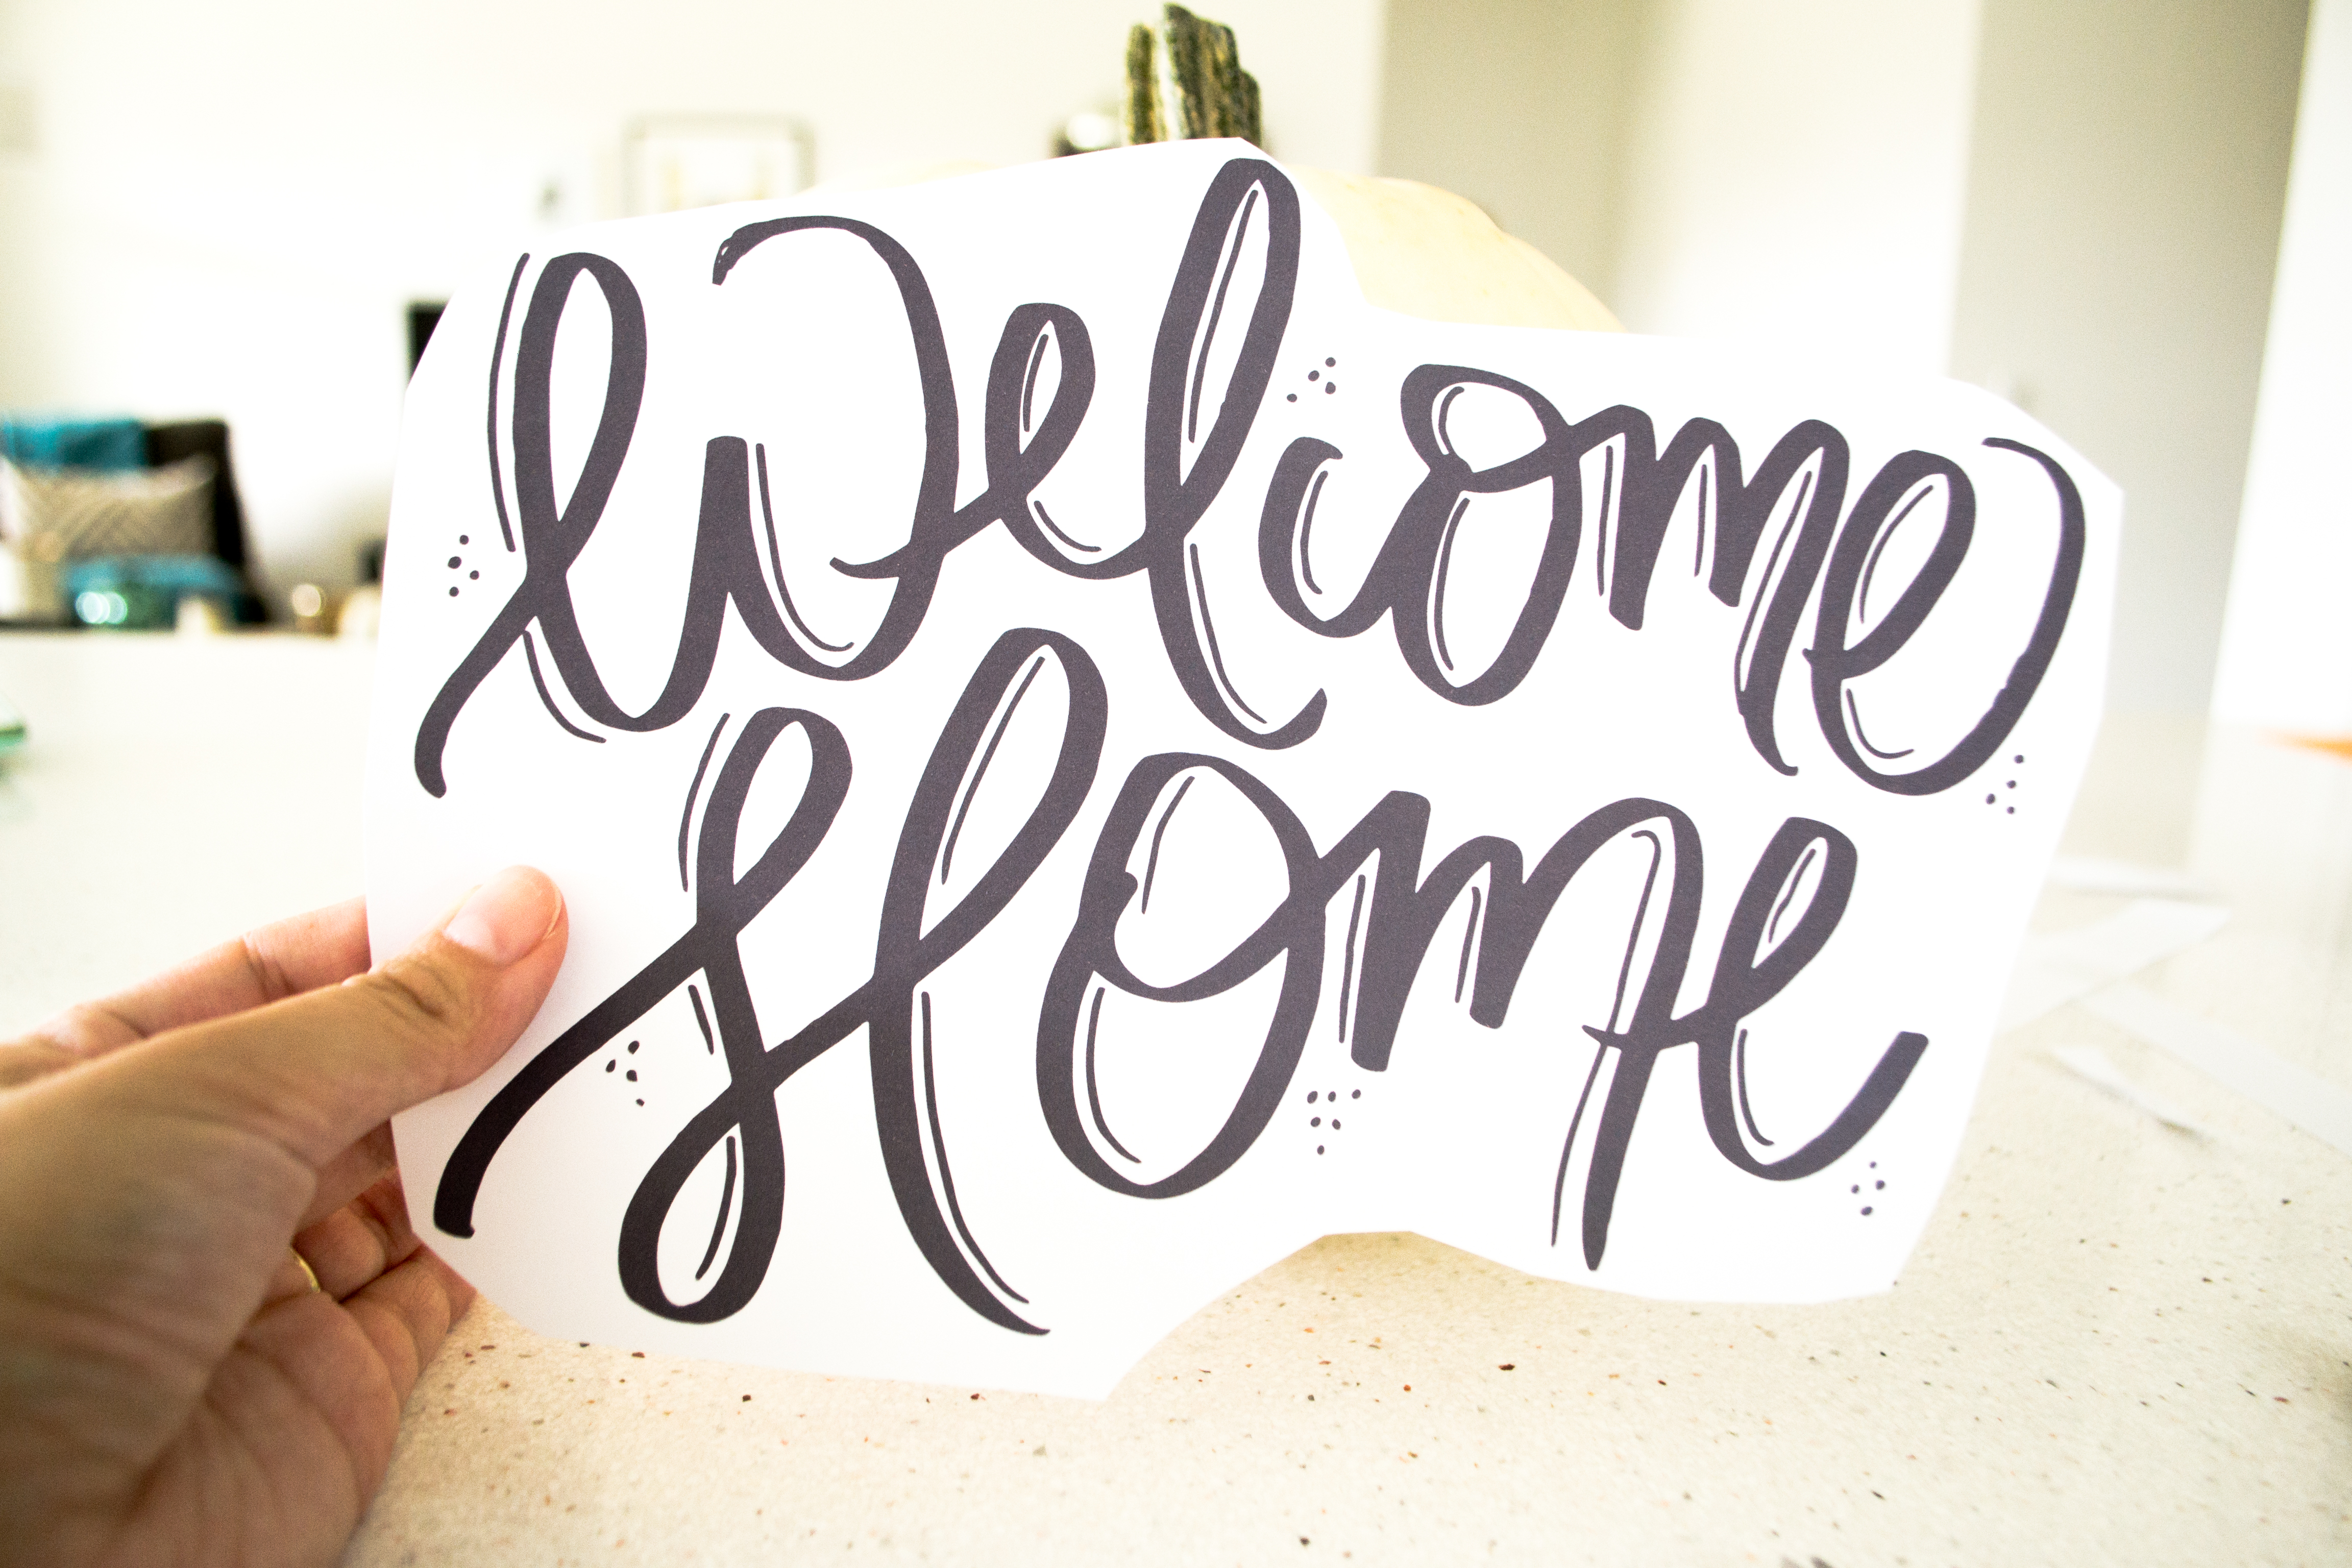
STEP 3:
Tape the template on the smoothest section of the pumpkin (once you start drawing you’ll understand why). Then, use your ballpoint pen to trace over the letters. You can outline the letters or you can draw over the letters. Whatever will be more helpful once you’re drawing on the pumpkin. [Tip: make sure to really press down on the pen so you can see the tracings on the pumpkin].
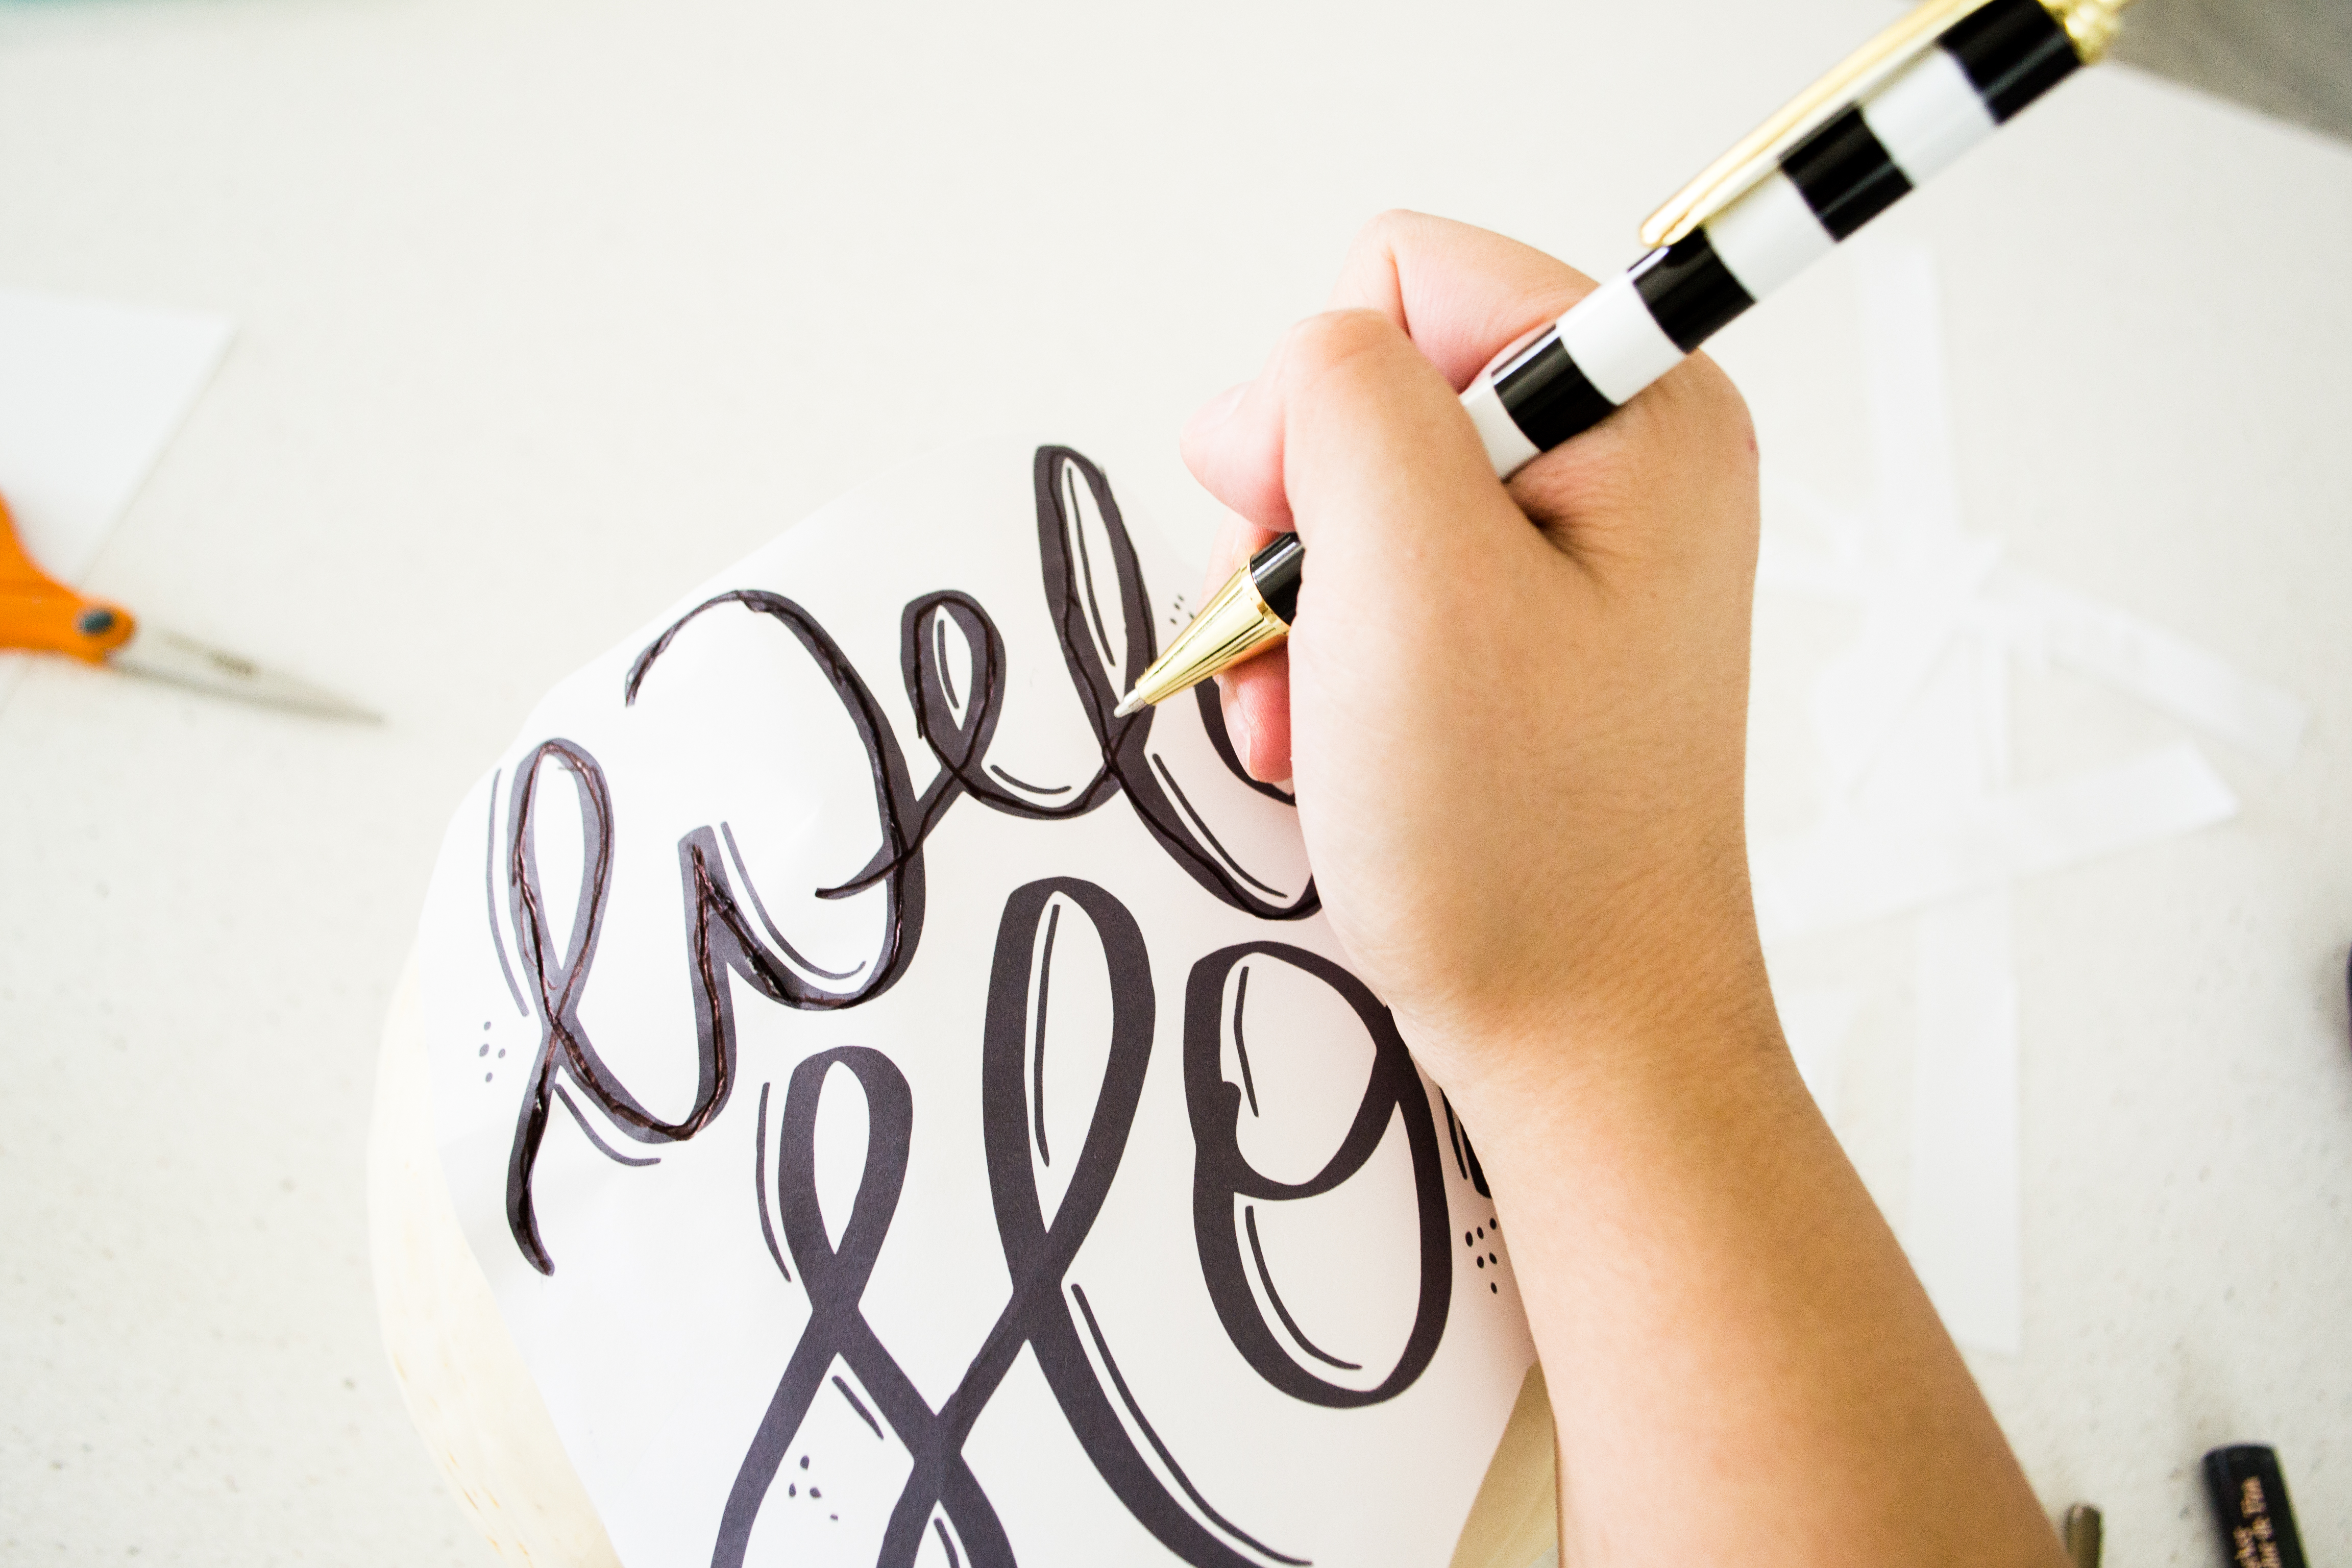
STEP 4:
Remove the template, look for the markings, and trace over with your paint marker. Let the paint dry for a few minutes before going to the next step. [Tip: test your paint marker one more time before tracing].
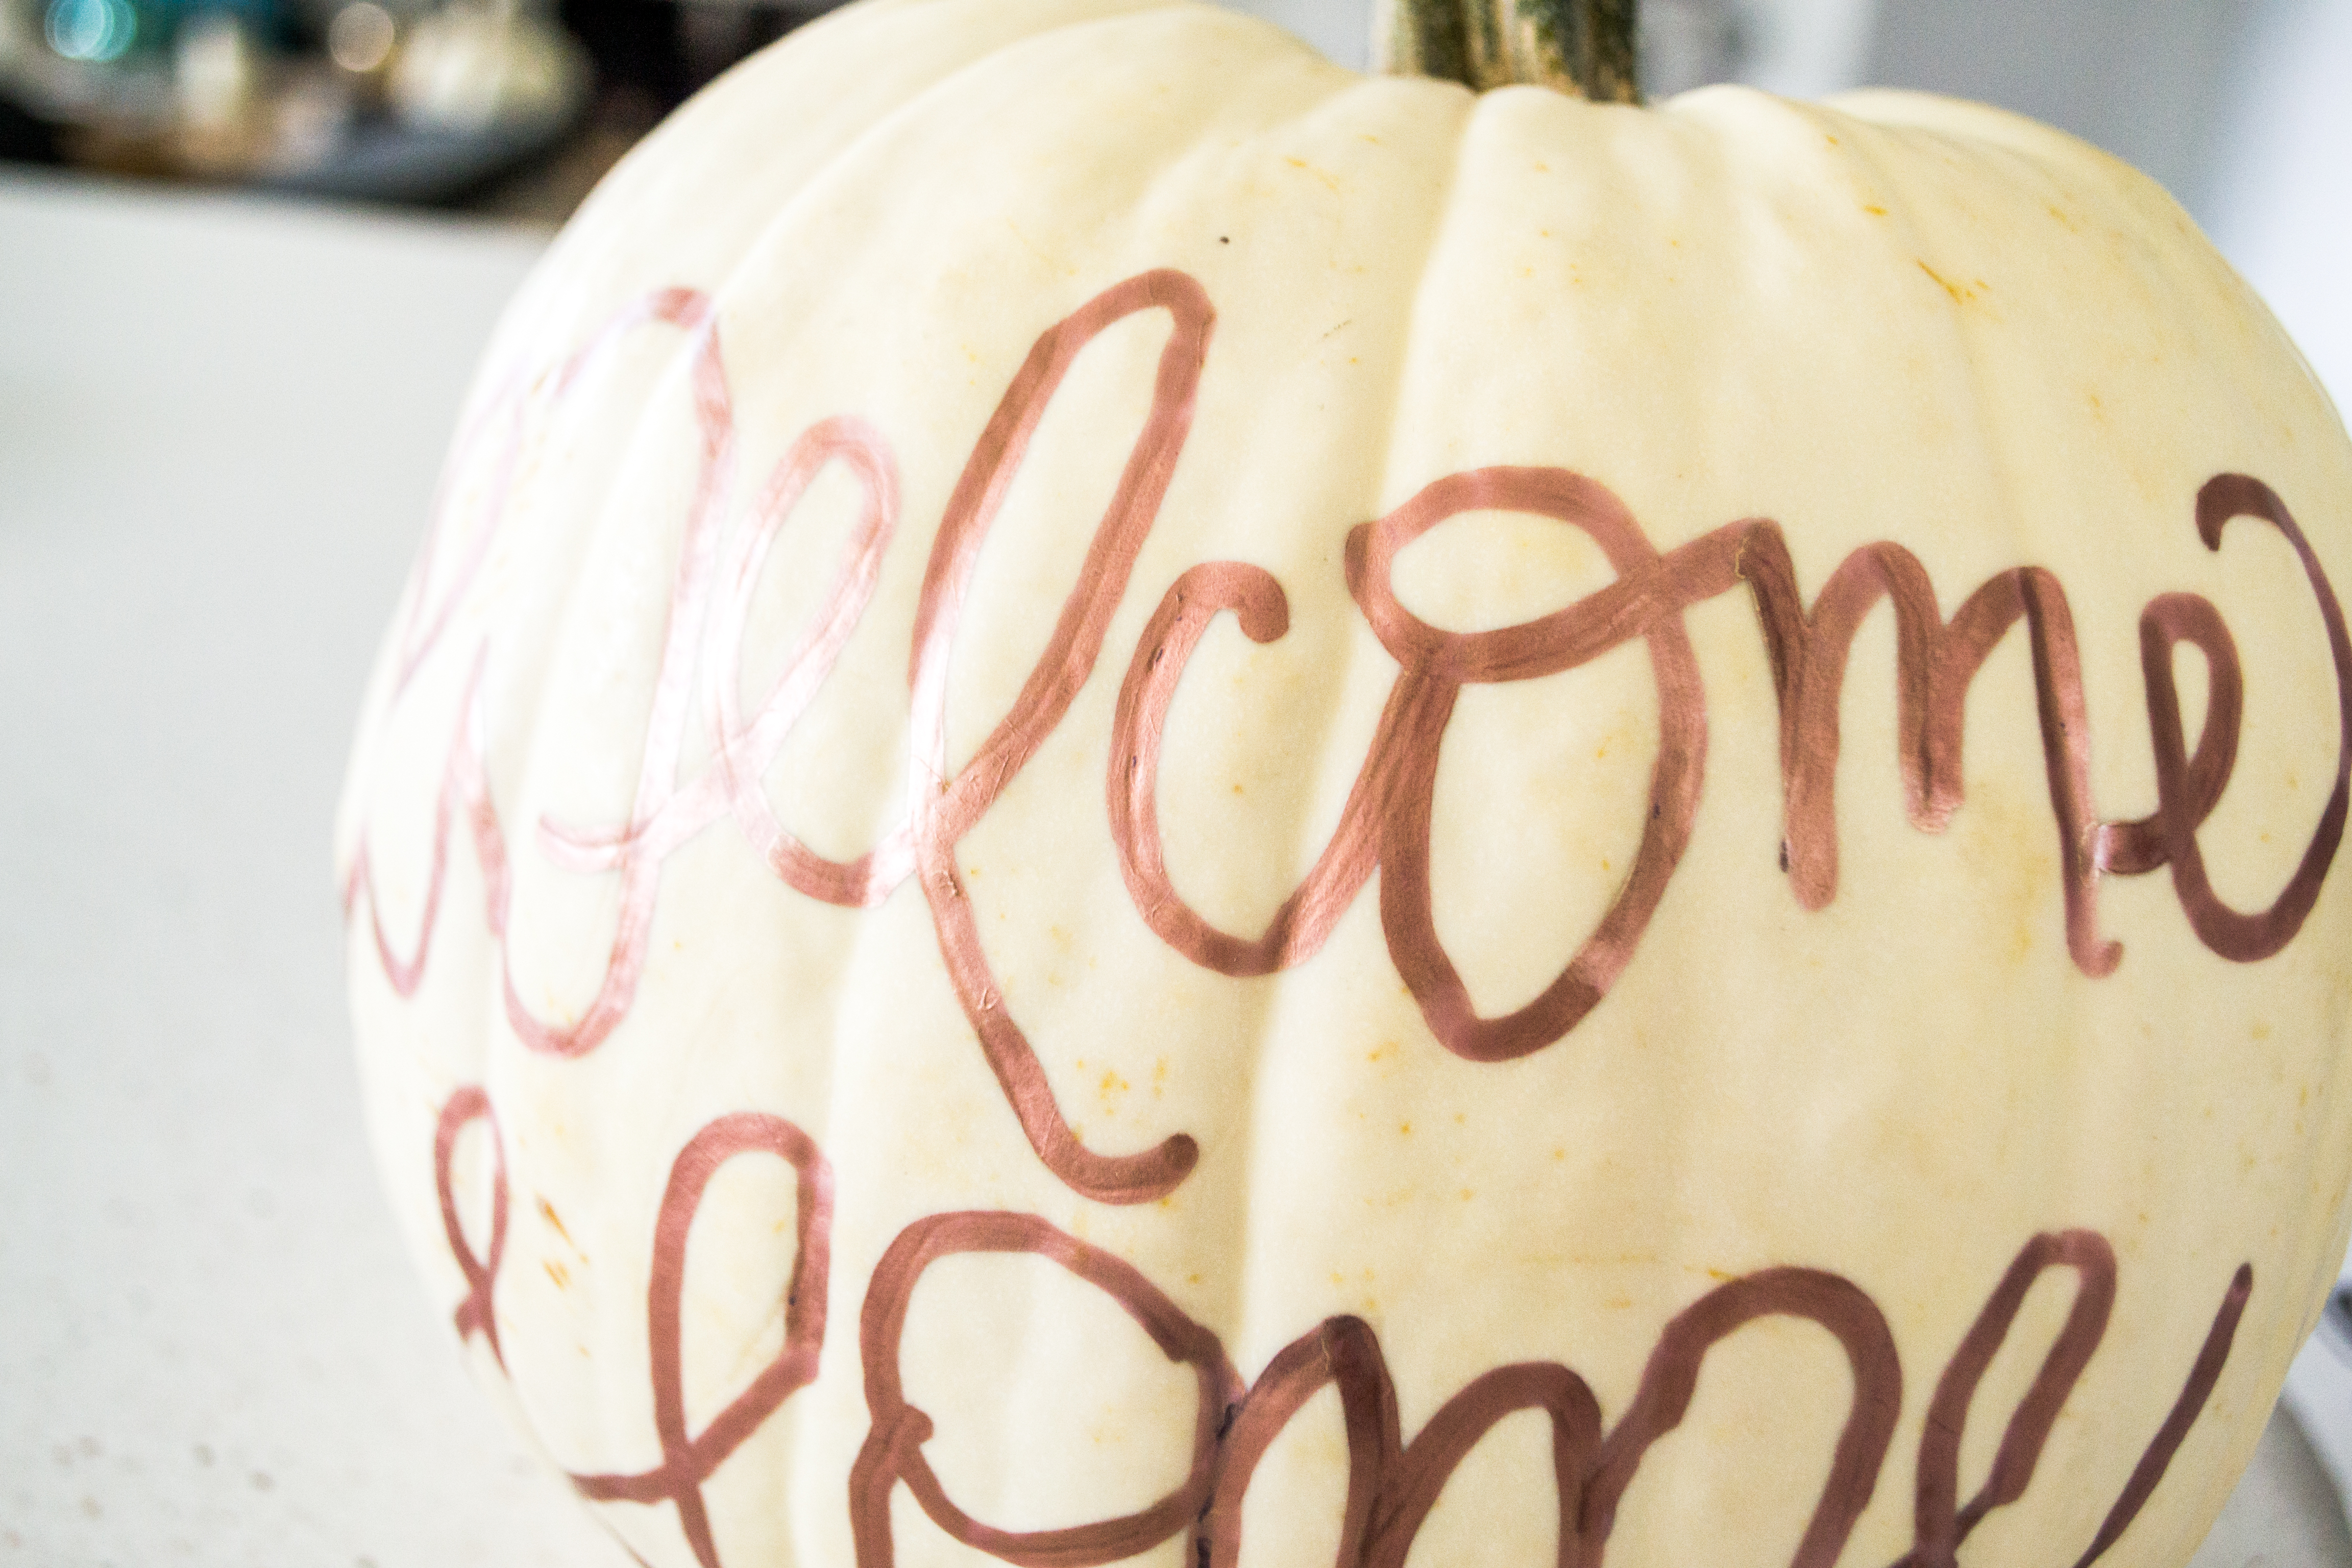
STEP 5:
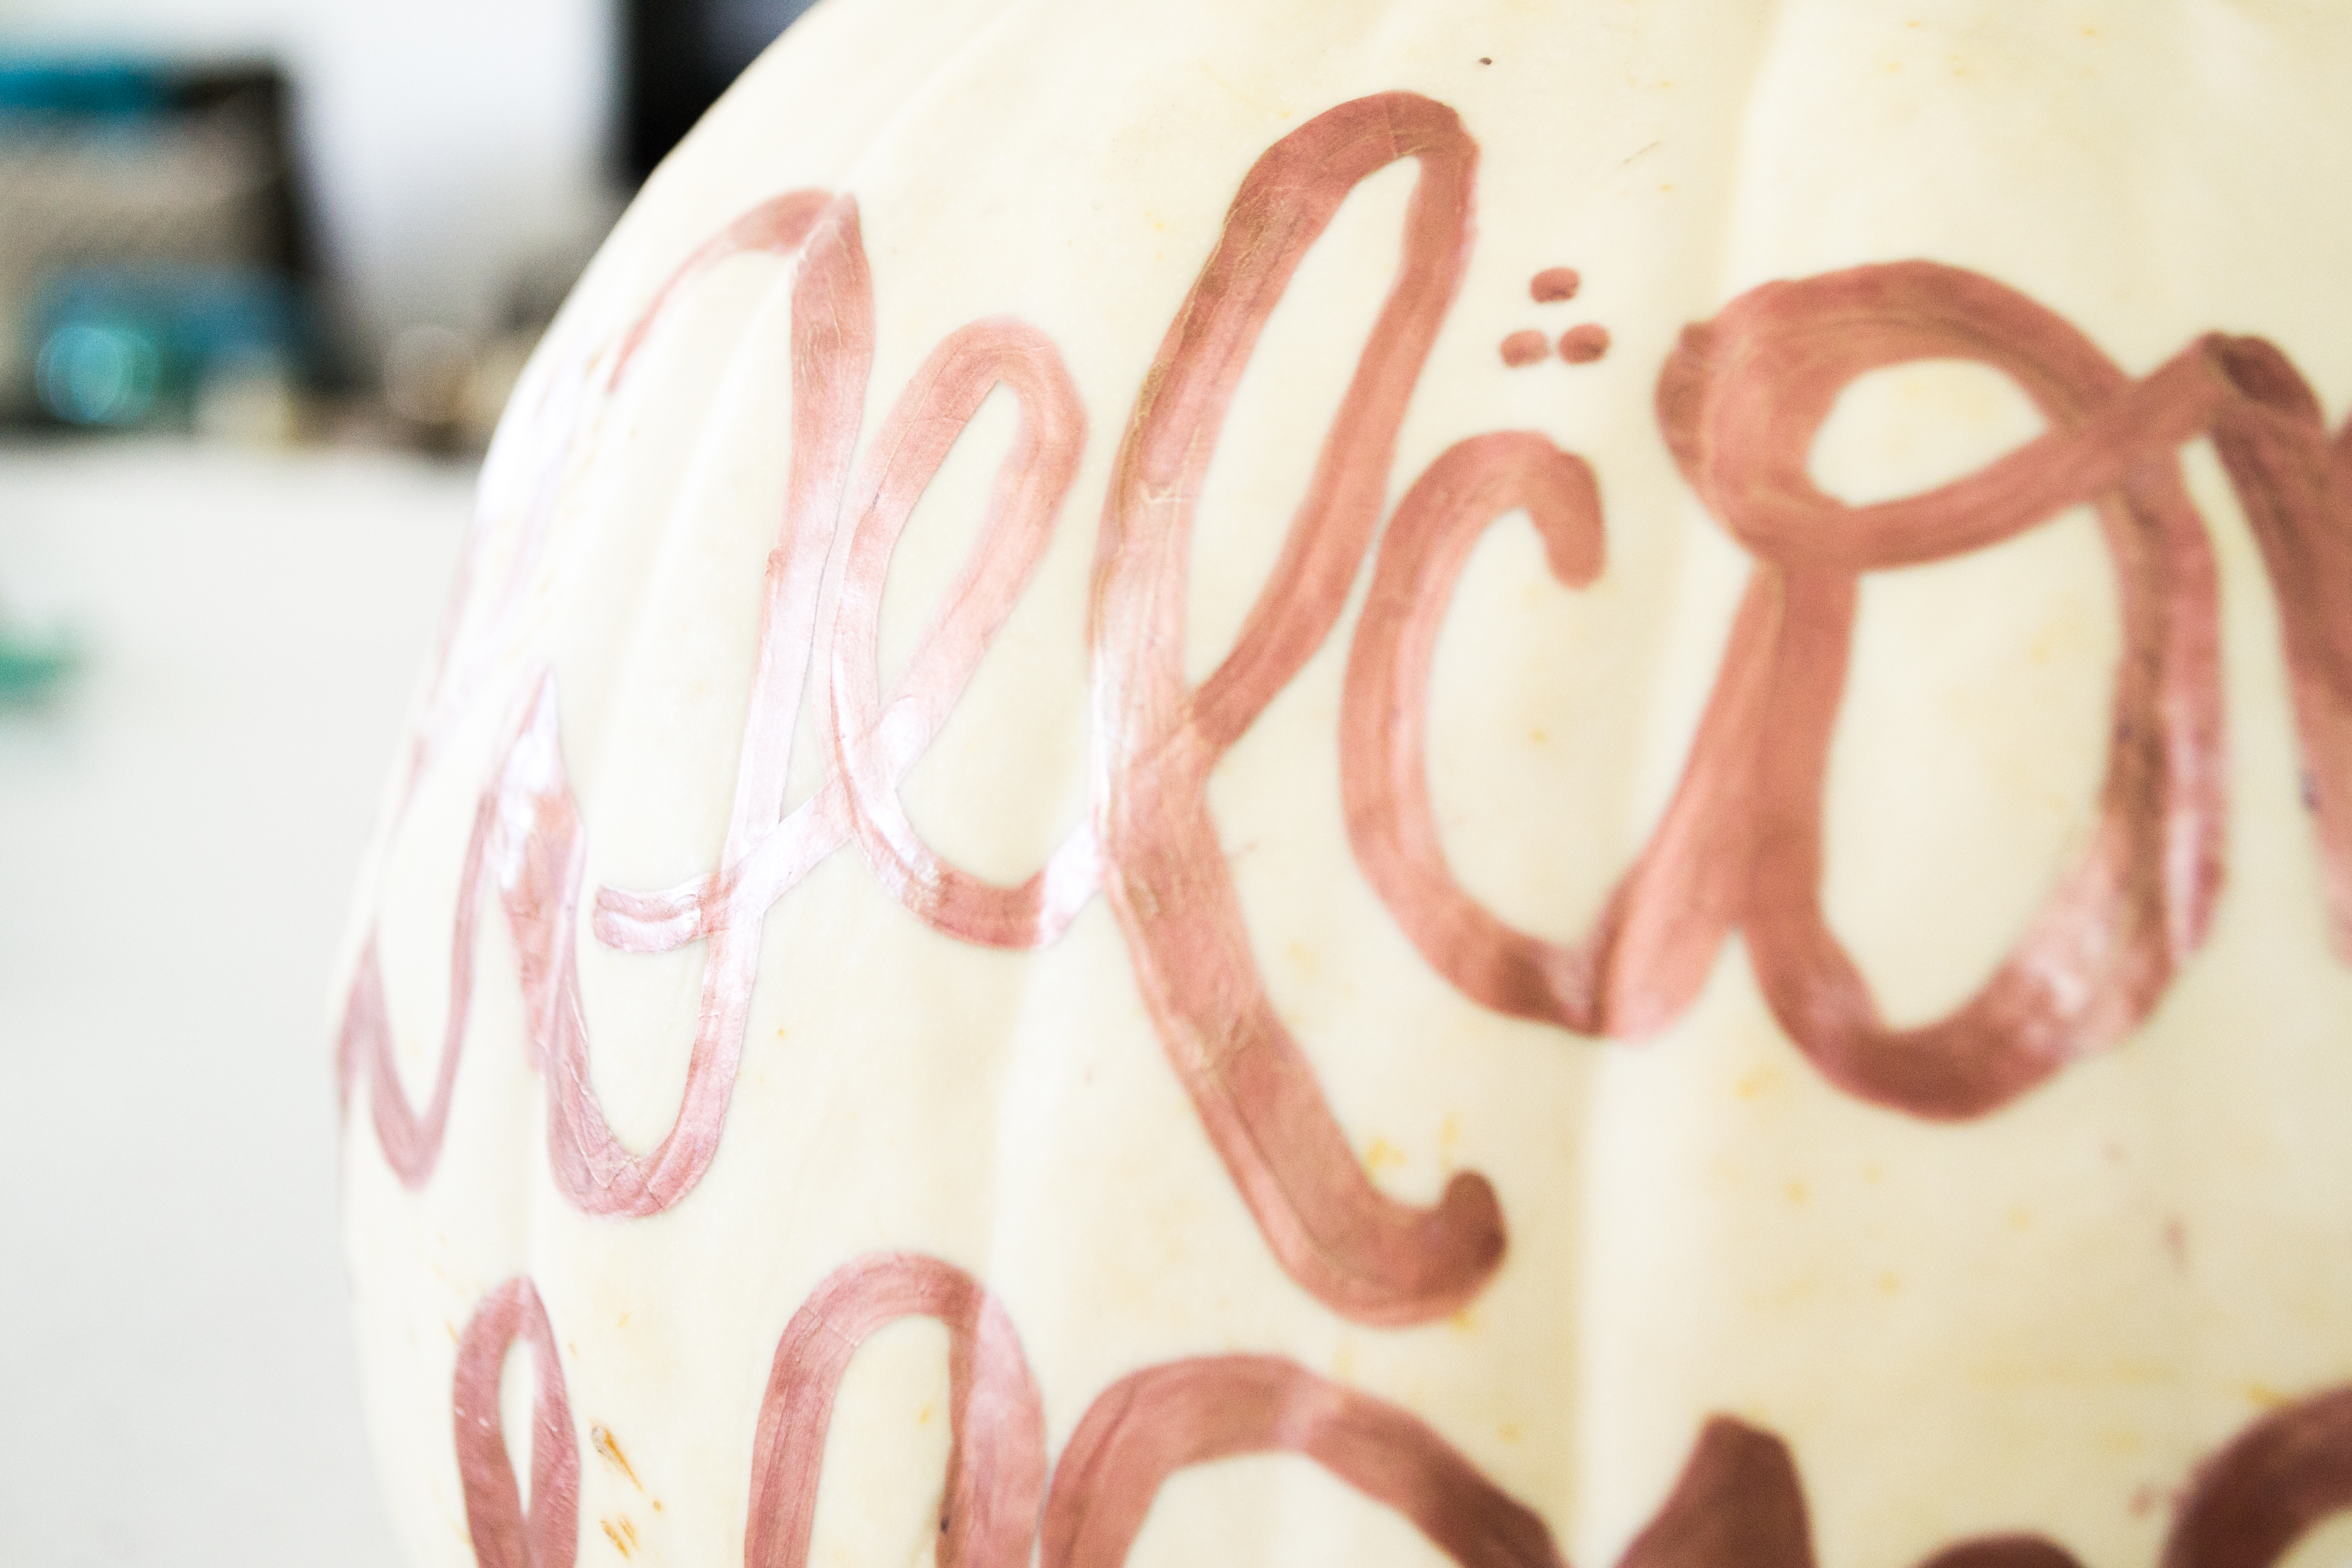
To make the lettering thicker, go over the letters one more time. If you want the style of the lettering to mimic traditional lettering, only make the downstrokes thicker. This template, in particular, is meant to be whimsy and fun. So I chose to make all the strokes of equal thickness. [Tip: take it slow and don’t overdo it. Tilt your pen a bit so the strokes become thinner].
STEP 6:
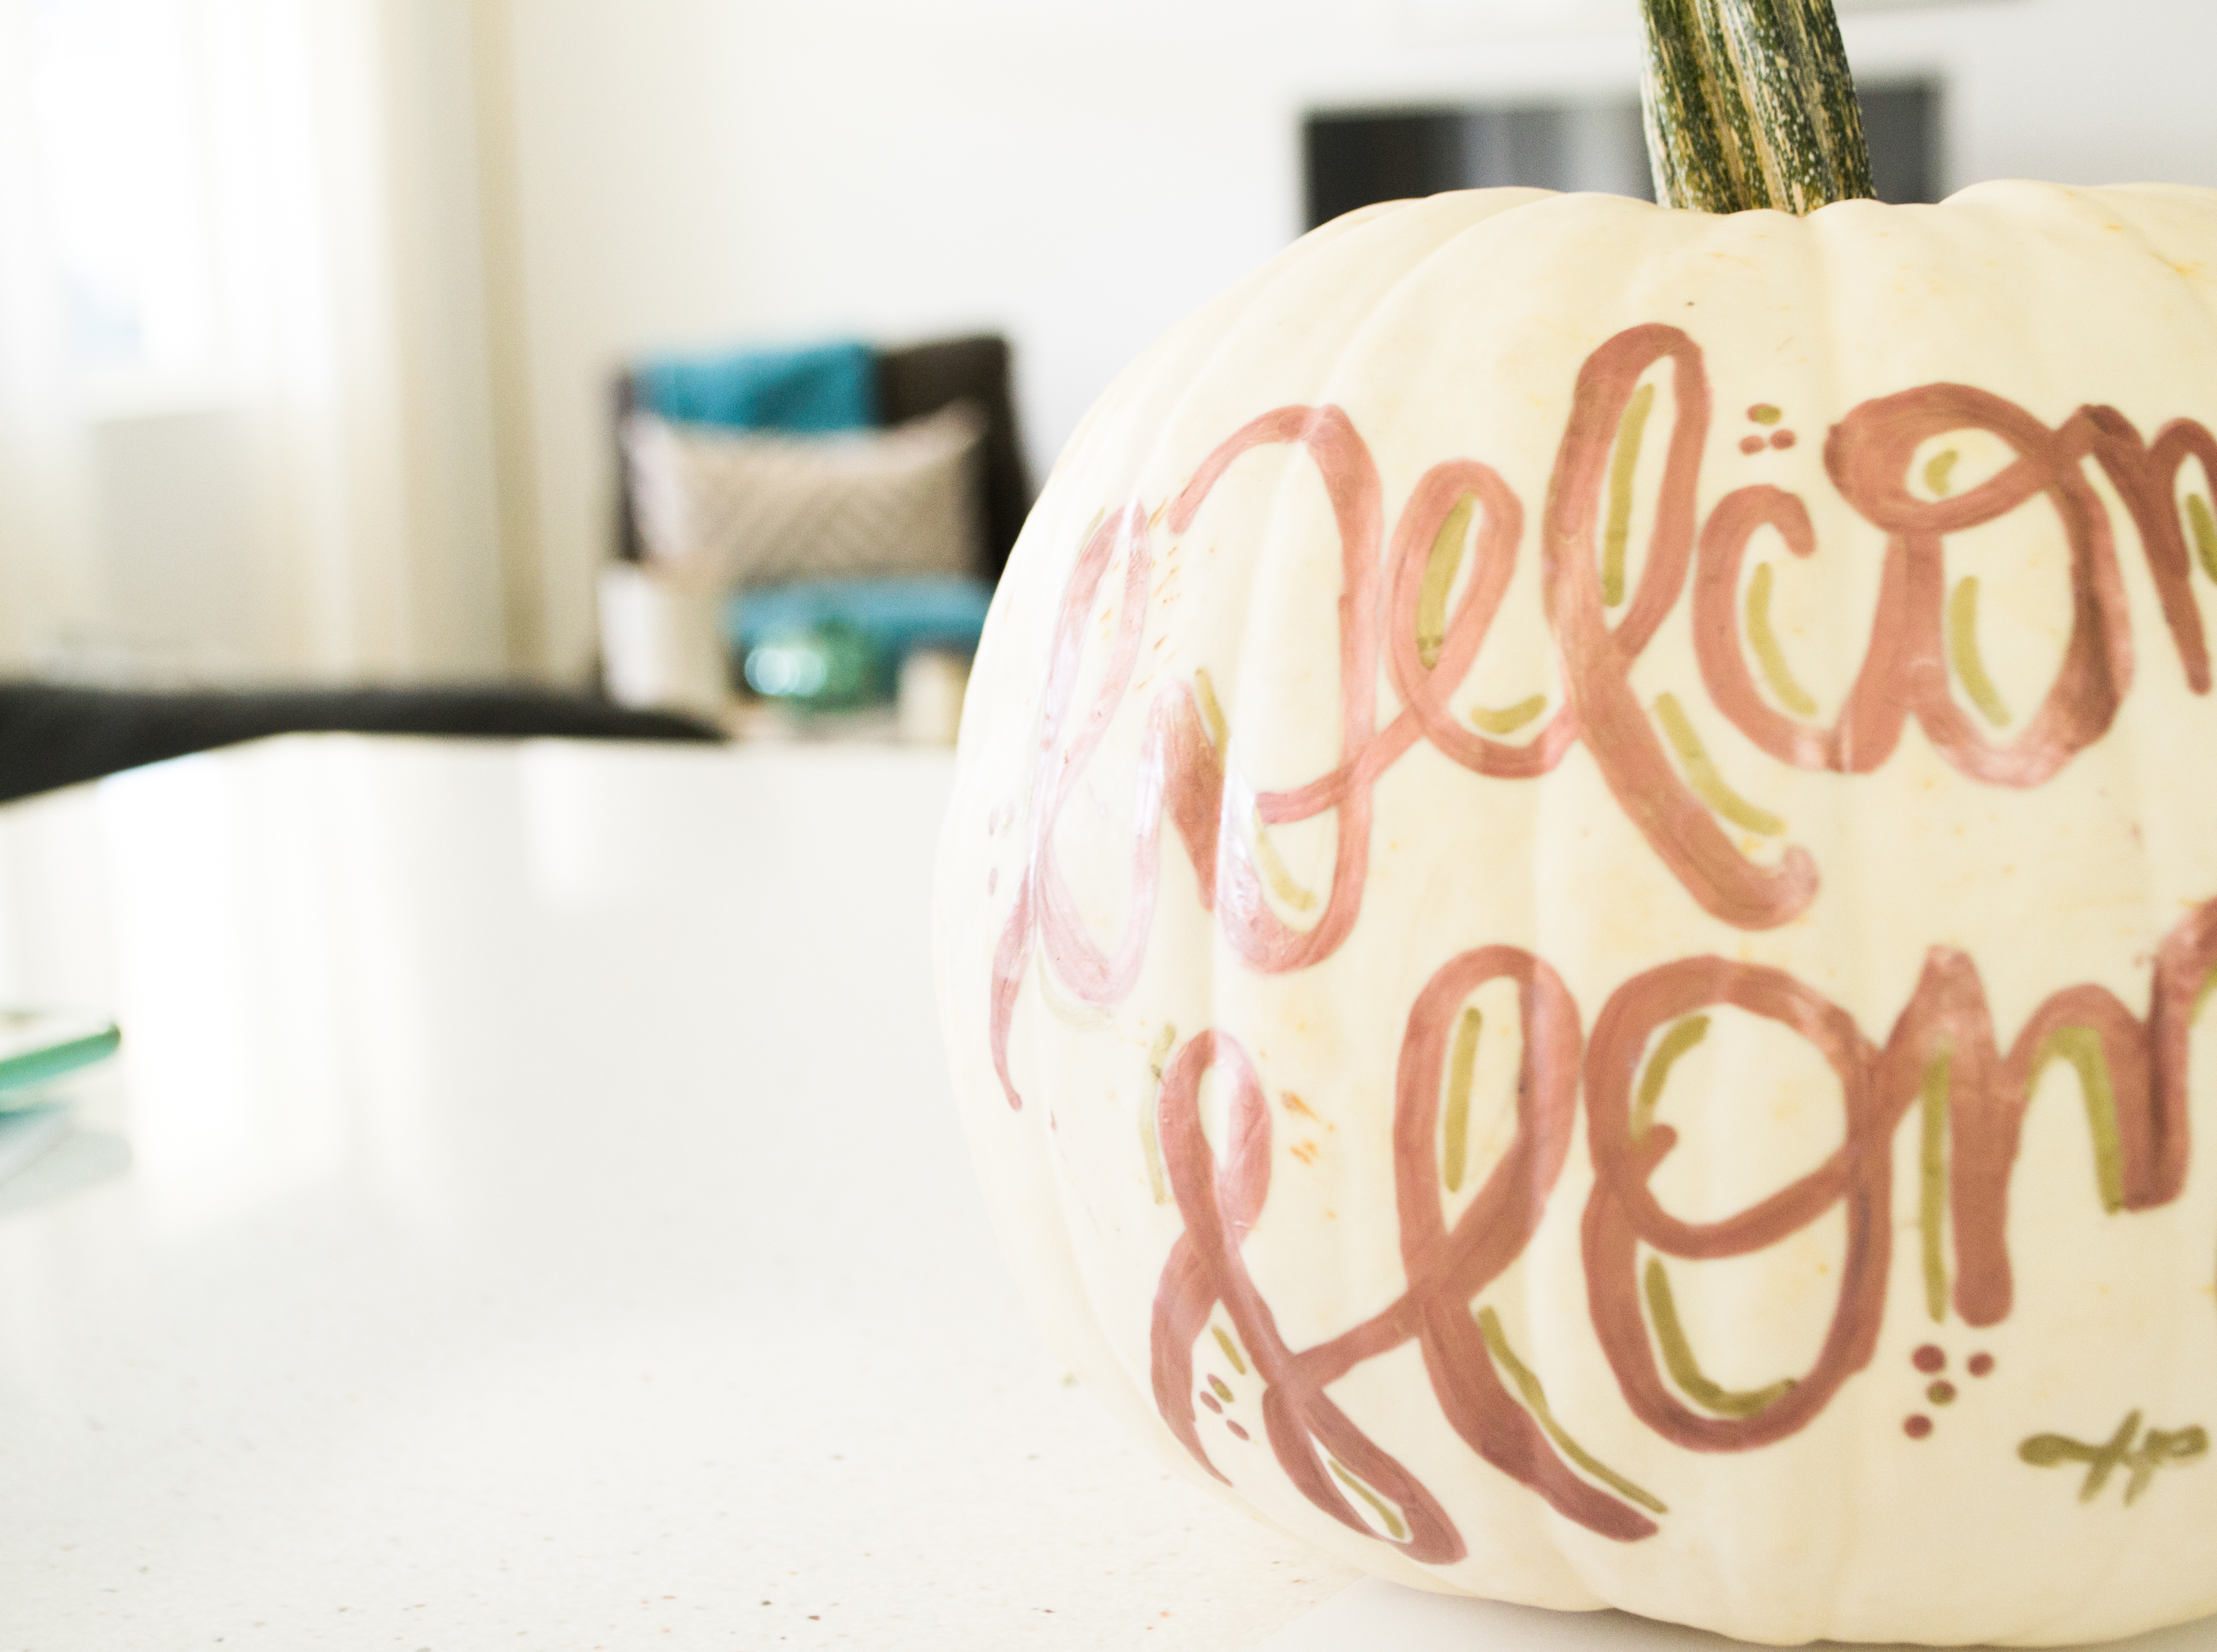
Add the embellishments, if you’d like. Or opt out of adding any more details. I used a different color marker to add the other parts.
STEP 7:
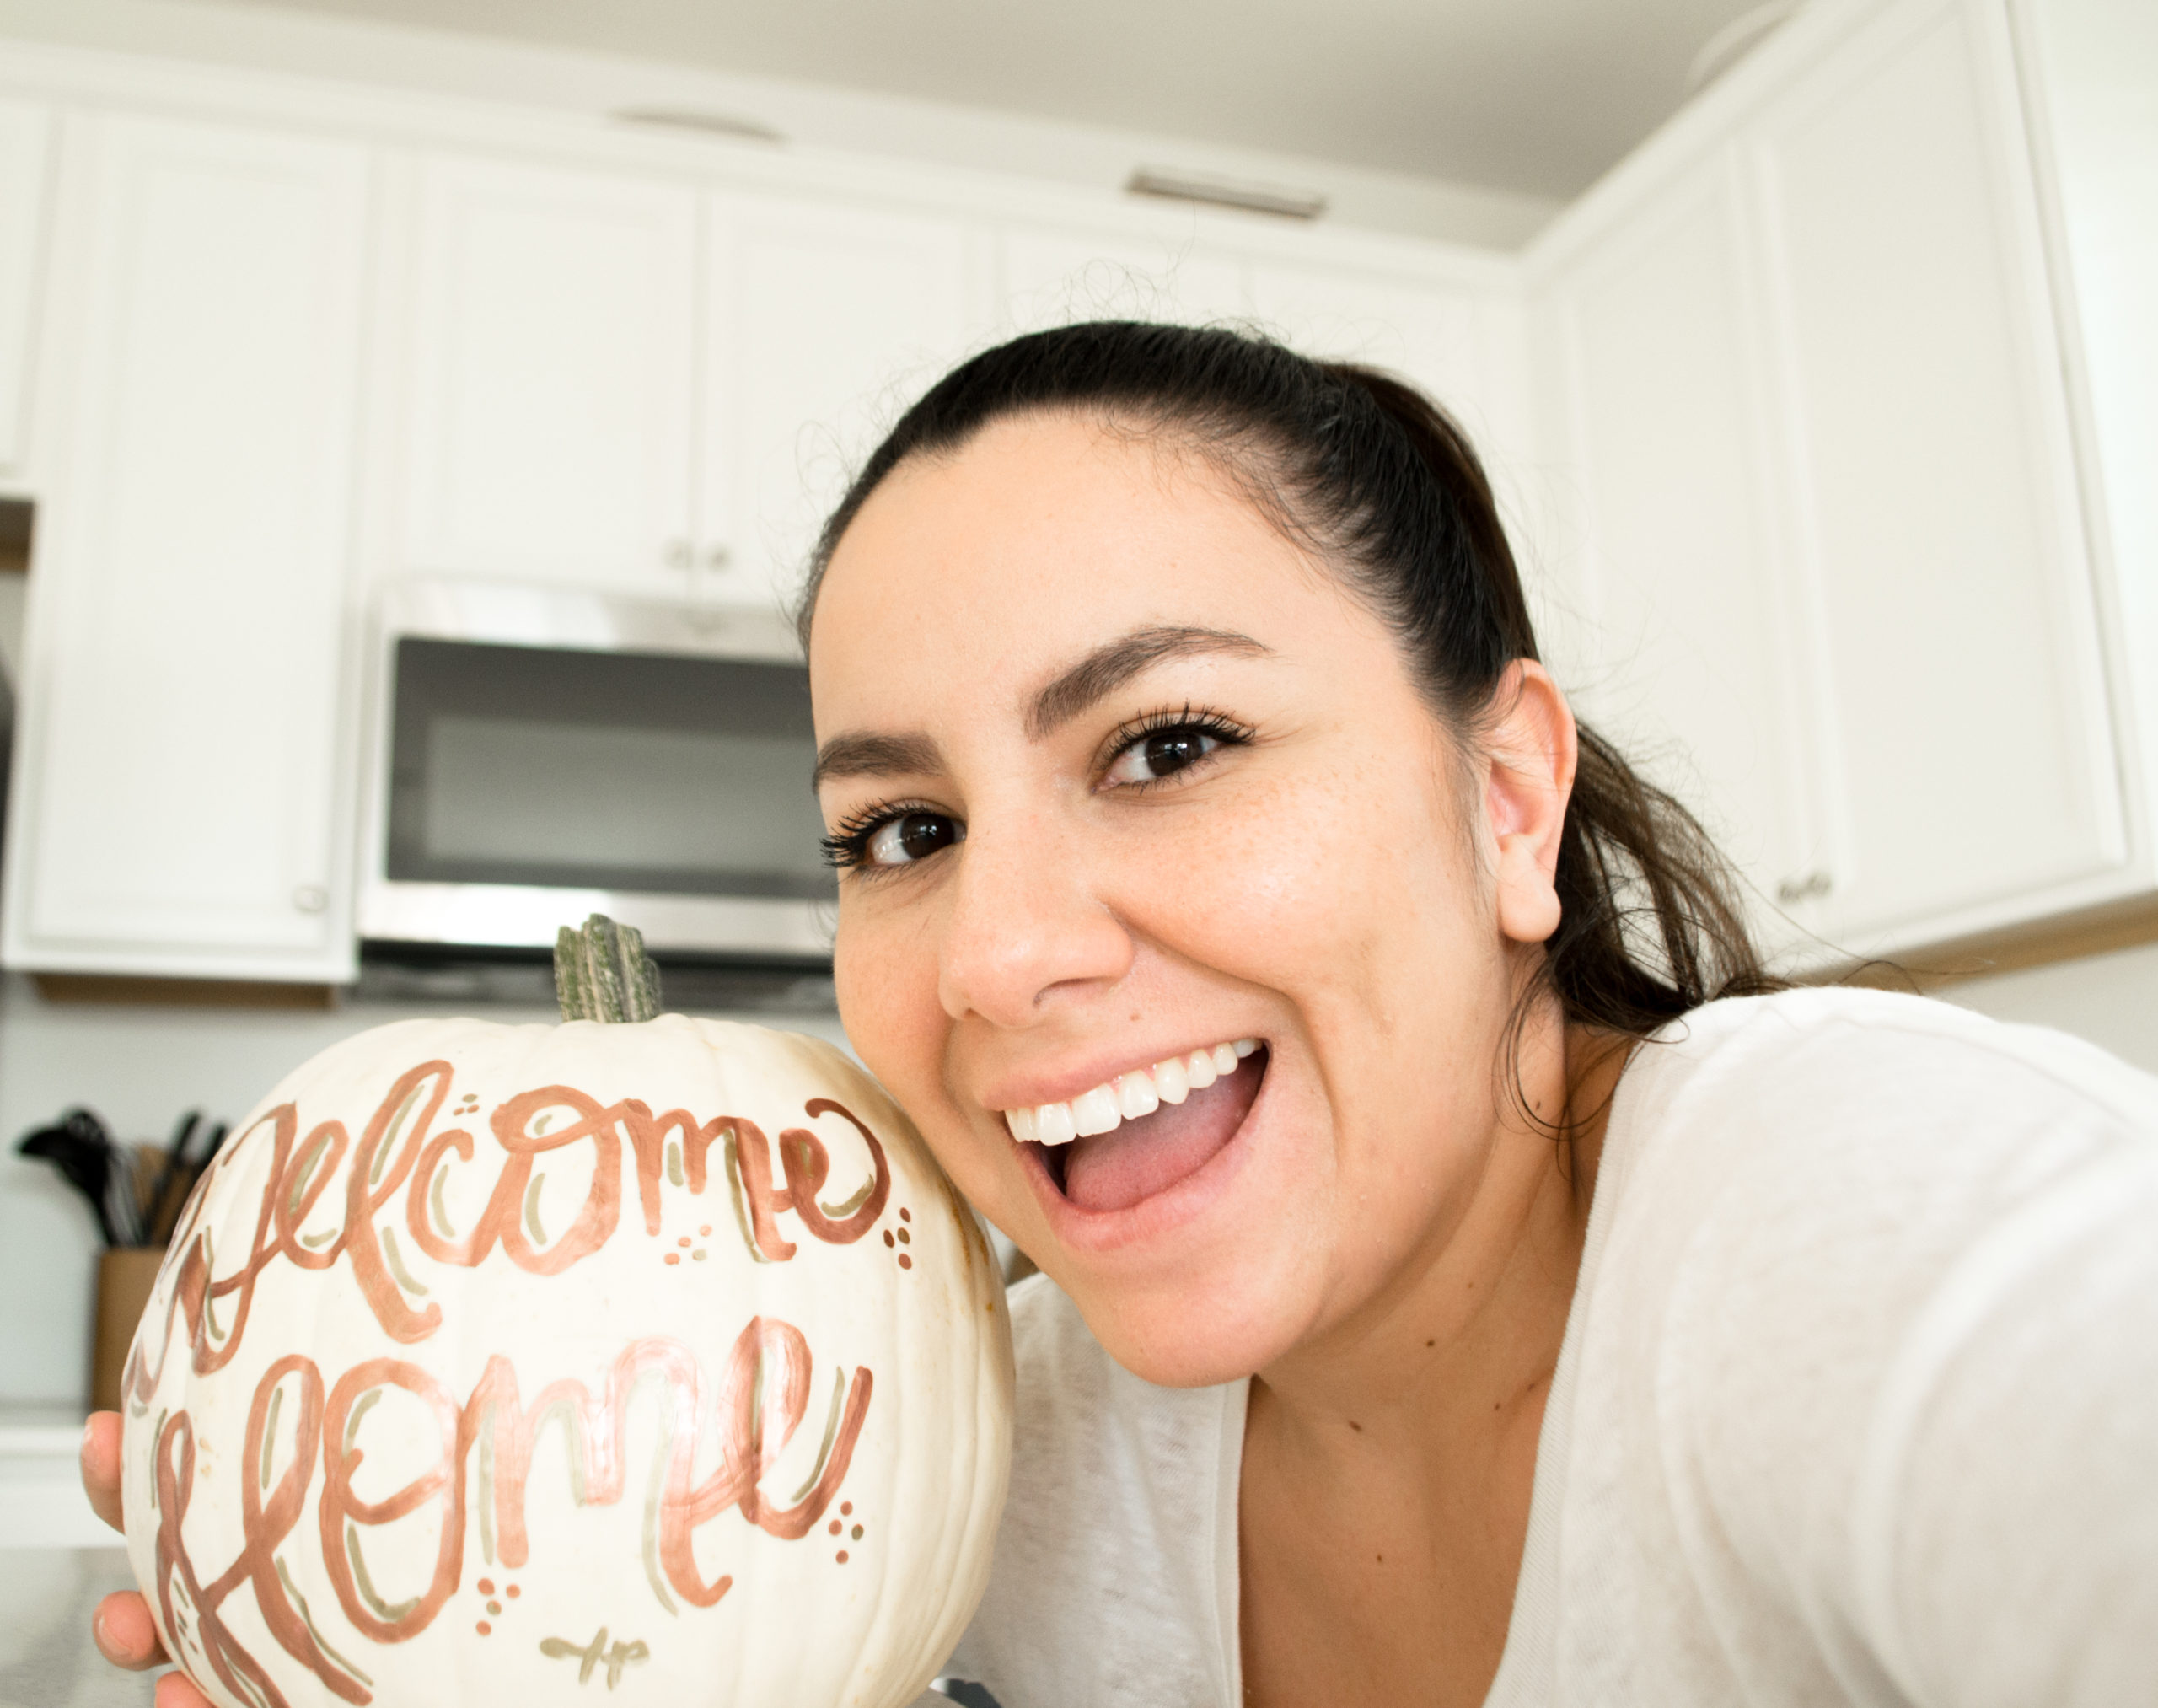
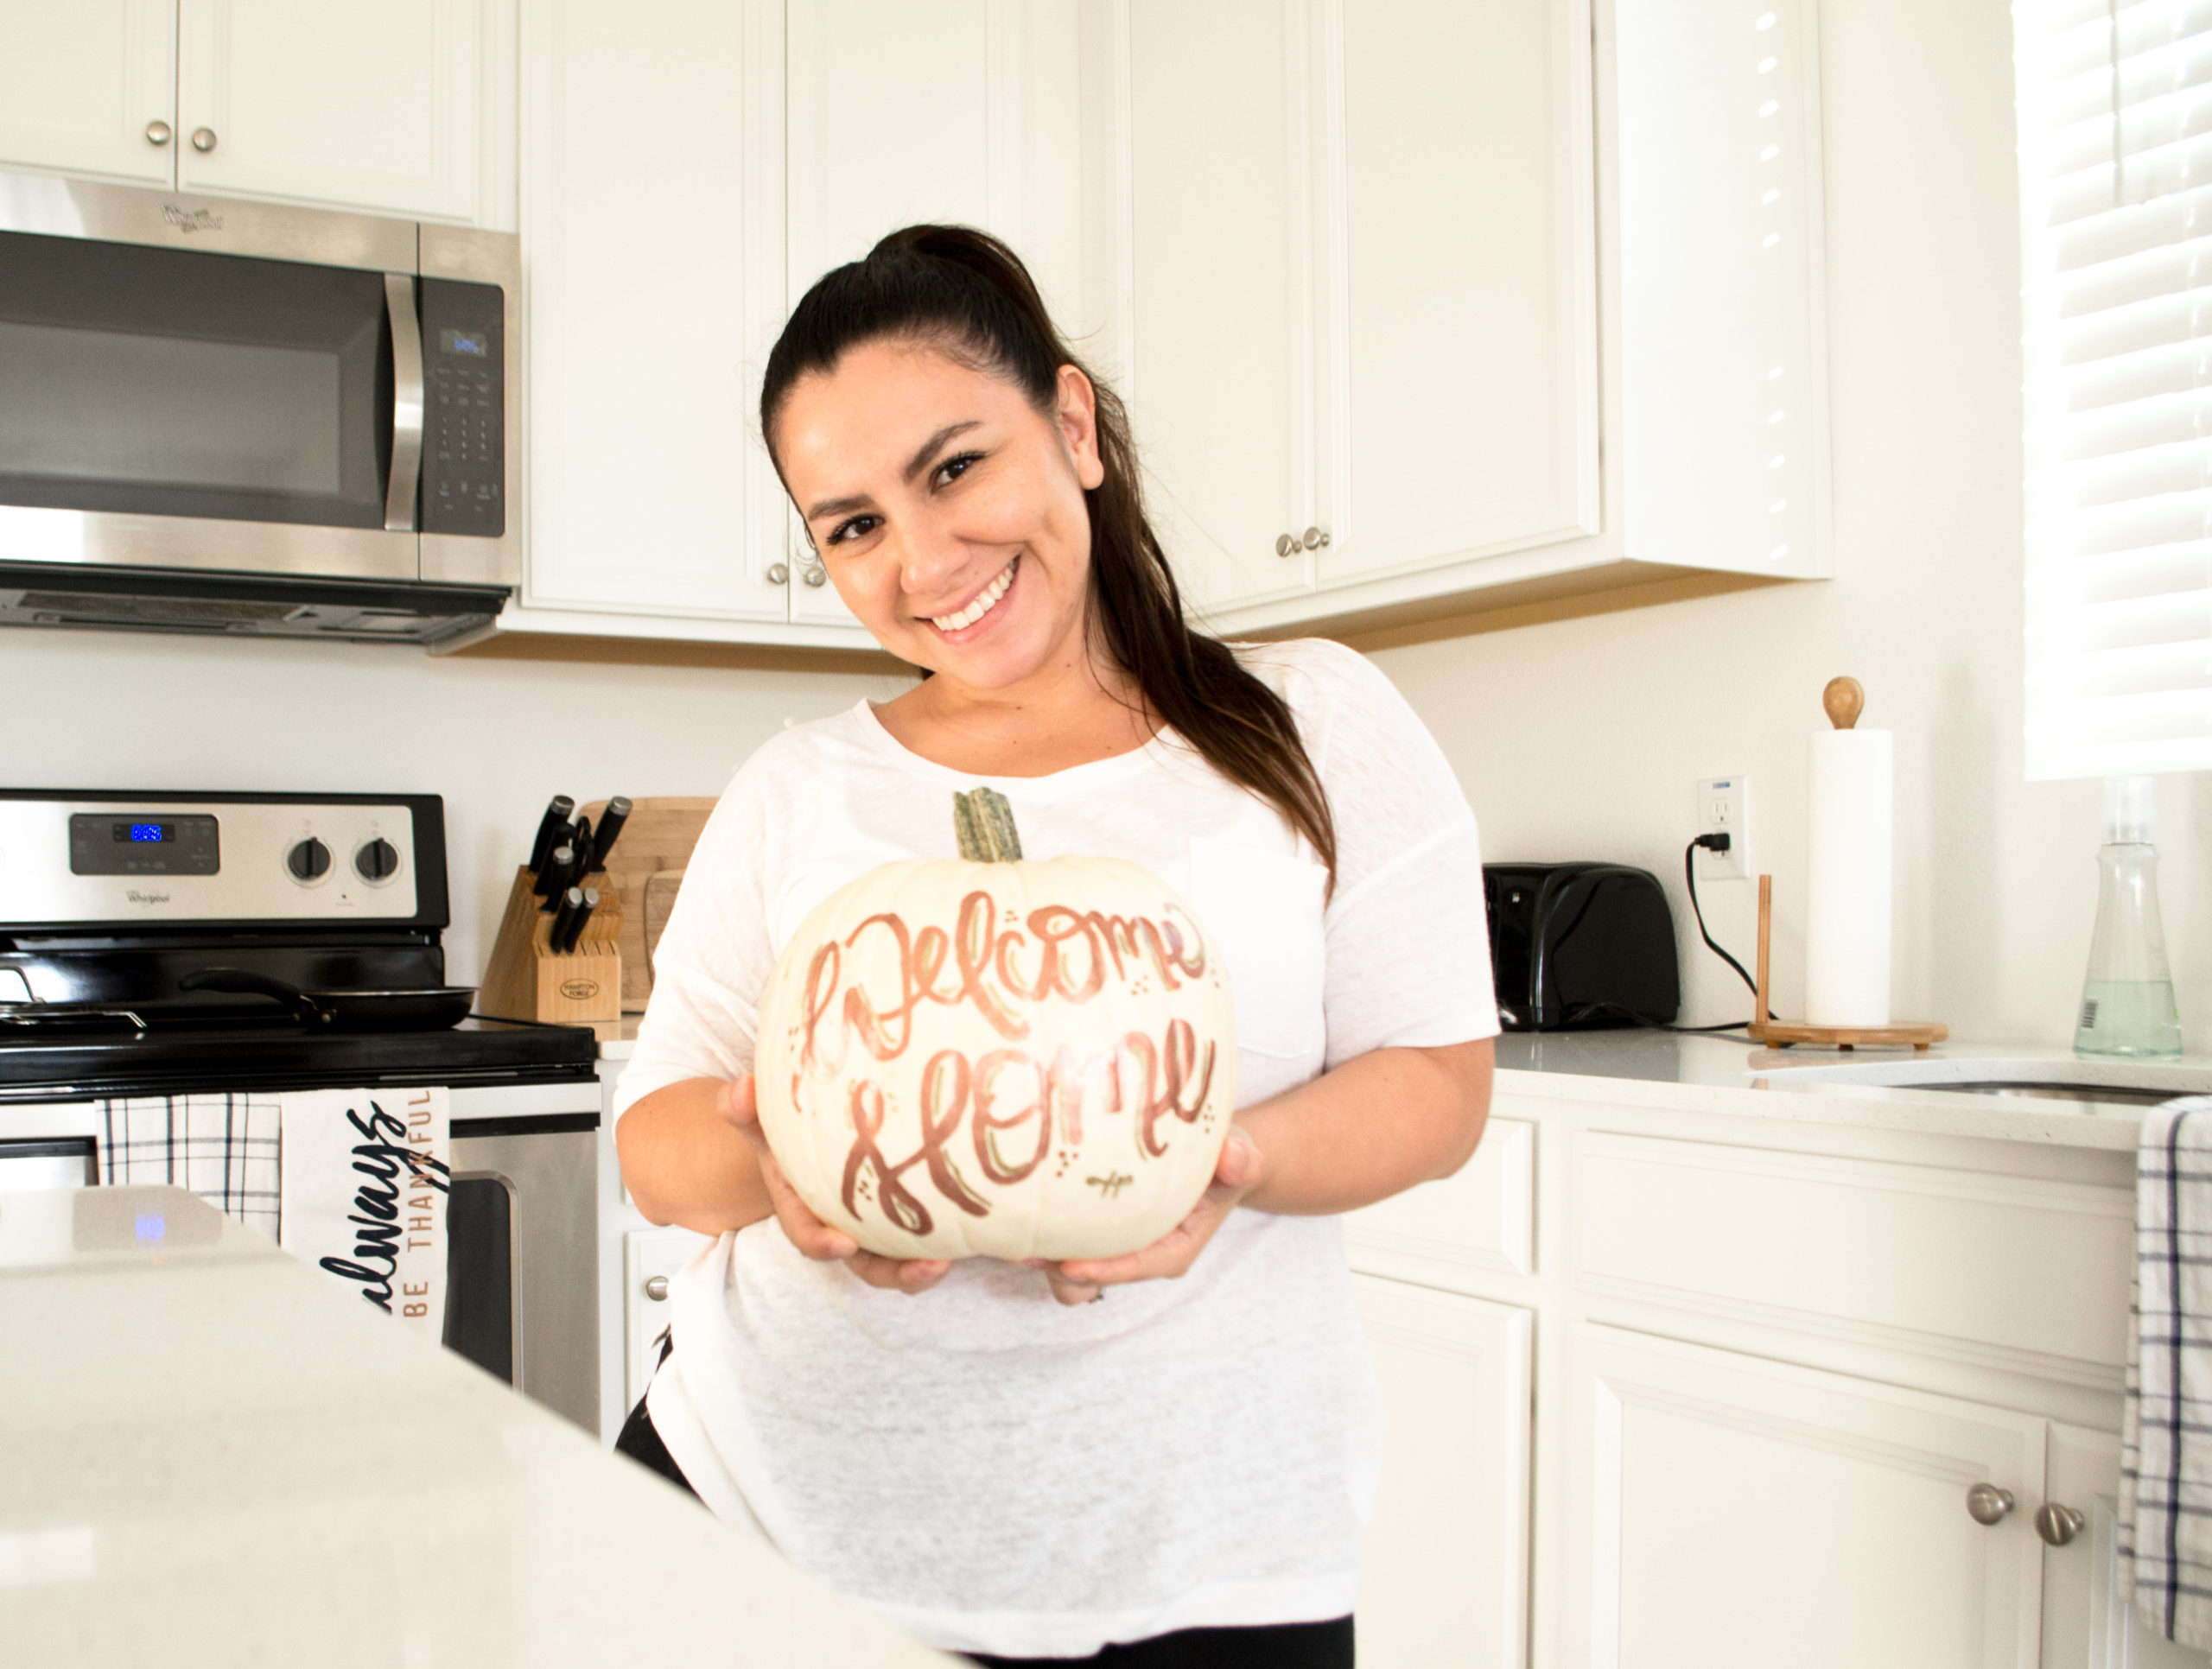
Take pictures with your newly hand-lettered pumpkin, DUH! Oh, and don’t forget to post and share them with me on Instagram 😉

+ show Comments
- Hide Comments
add a comment